How to Attach a Water Bottle to a Backpack: Hands-Free
You can easily attach a water bottle to your backpack using elastic bands, shock cords, or commercial holders. Wrap elastic bands or shock cords around the bottle and secure them to loops, daisy chains, or D-rings on your straps.
Using zip ties and koozies adds insulation and stability. Position the bottle for quick access and adjust tension to prevent bouncing. Exploring these simple yet effective options will help you carry your bottle securely and comfortably on any adventure.
Key Takeaways
- Use elastic hairbands or shock cords looped through backpack straps to securely hold the bottle’s neck and body with adjustable tension.
- Attach shock cords with mini carabiners to daisy chains or D-rings for stable, easy-access water bottle mounting.
- Insulate bottles by placing them in foam koozies with zip ties threaded through backpack straps to maintain temperature and reduce condensation.
- Utilize commercial cinch cord holders compatible with various bottle sizes for lightweight, adjustable, and quick-release attachment.
- Position bottles using dual attachment points or hip belt holders to minimize bouncing and maintain easy reach while hiking or walking.
DIY Elastic Band Holder Technique
When you need a simple way to carry your water bottle on your backpack, the DIY elastic band holder technique offers a quick and effective solution. Start by weaving two elastic hairbands together to create a figure-eight or double loop.
Begin by intertwining two elastic hairbands to form a sturdy figure-eight loop.
Slide this woven band through a shoulder strap loop on your backpack. Position the upper loop around the neck of your water bottle and the lower loop around its body for stability.
Adjust the tension by stretching or repositioning the bands as needed to secure the bottle firmly. This method is especially useful when traveling with a soft-sided duffel, as it maximizes packing flexibility.
This method gives you easy access without removing your backpack, requires no permanent modifications, and fits various bottle sizes. It works best if your backpack has shoulder strap loops to attach the holder securely.
Keep in mind, elastic bands can degrade over time and may slip if too loose, so check their condition regularly.
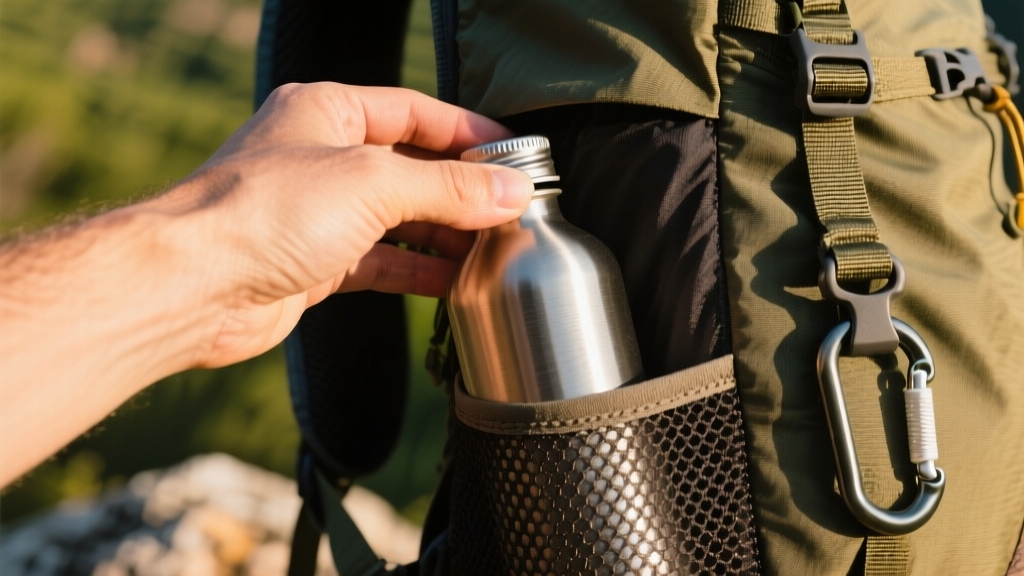
Using Zip Ties and Koozies for Insulated Carry
Although simple elastic bands offer quick attachment, using zip ties combined with a koozie provides a more secure and insulated way to carry your water bottle on a backpack. Start by slicing a small hole near the top of the koozie to prevent tearing, then thread a zip tie through it.
Slide the zip tie through your backpack’s shoulder strap and cinch it snugly without cutting off circulation. Trim the excess for a neat finish. Using support and storage solutions like zip ties helps maintain the bottle’s position and prevents damage to the backpack fabric.
The koozie’s foam insulates your bottle, maintaining temperature and reducing condensation, ideal for long hikes. For added stability, you can wrap a shock cord around the water bottle and secure it to the backpack’s daisy chain webbing.
This setup grips the bottle firmly, minimizing shifting on uneven terrain. Keep spare zip ties handy for quick field adjustments, and inspect for wear regularly to guarantee lasting security and insulation on your outdoor adventures.
Exploring Commercial Bottle Holder Options
Hey there! If you’re on the lookout for a way to keep your water bottle secure while you’re out and about, you might want to check out some commercial holders. One great option is the ULA Equipment kit. It’s super lightweight and has this elastic design that fits most bottles up to 1 liter.
These holders often use elastic bands or shock cords to keep bottles snugly in place, preventing movement while you hike. Proper measurement of external protrusions ensures the holder fits securely without interfering with your pack’s dimensions.
Plus, you can also consider hip belt holders. They make accessing your drink a breeze and, even better, keep your hands free while you’re hiking or biking. So, whether you’re hitting the trails or cruising on your bike, these options give you a reliable way to attach your bottle without weighing down your pack too much. Pretty convenient, right?
ULA Equipment Kit
Since staying hydrated on the trail is essential, the ULA Equipment Kit offers a practical solution for attaching water bottles directly to your backpack’s shoulder straps.
It includes two elastic cinch cord holders that loop through D-ring attachments on various ULA backpack models, like the Circuit, Catalyst, and Ohm. Each holder weighs just 0.4 ounces, adding negligible weight to your gear.
The spring-loaded cord locks let you adjust for different bottle sizes, accommodating SmartWater bottles, collapsible containers, or even bear spray. The kit is designed to be compatible with multiple bottle types, enhancing hydration options through its bottle compatibility.
This feature mirrors the portable design concept found in professional organizers for easy access and convenience. The kit’s elastic and plastic materials ensure flexibility and durability, while cord end stoppers keep everything secure.
Plus, if cords wear out, you can easily perform field repairs without replacing the entire kit. This affordable, ultralight setup maximizes hydration accessibility without compromising pack weight or comfort.
Hip Belt Holders
When carrying water bottles on your hipbelt, choosing the right commercial holder can enhance both comfort and accessibility. Selecting holders that sync well with your overall gear setup helps maintain a cohesive, sophisticated look.
Look for modular holders designed for PALS grid systems, featuring elastic cinch cords with spring-loaded locks for secure, easy adjustments.
Opt for bottles between 500ml and 1 liter, ideally under 3 inches in diameter and no taller than 11 inches, to minimize bounce and maintain stability.
Wider hipbelts around 2 inches provide better support, especially when placing bottles near the glutes. Dual holders distribute weight evenly, reducing spinal load.
Durable materials like EMBERTEX nylon and anodized aluminum ensure longevity, while removable components allow customization and repairs. Many holders include elastic cinch cords that fit through D-ring holders, providing a secure and adjustable grip.
Properly positioned holders let you retrieve bottles one-handed, improving hydration on the move without disrupting your pack’s balance or comfort.
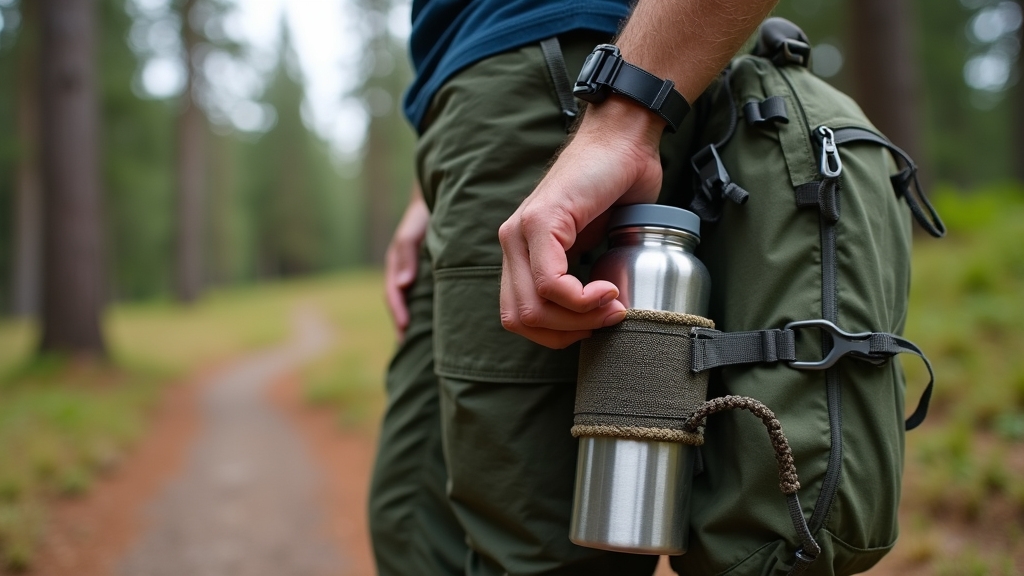
Shock Cord and Carabiner Attachment Method
Alright, let’s break this down! First, you’ll want to create some secure loops with shock cord. Just tie overhand knots to keep your bottle nice and snug so it won’t slip out. The adjustable shock cord ensures a snug fit around different bottle sizes, making it versatile for various bottles.
Next up, grab those mini carabiners! You can attach them to your backpack’s daisy chains or D-rings. This makes it super easy to hook your bottle on and off whenever you need it.
Don’t forget to adjust the tension. You want to find that sweet spot between stability and easy access. That way, your bottle will stay put no matter how much you’re moving around.
Loop Formation Techniques
Although securing a water bottle to your backpack might seem straightforward, mastering loop formation techniques using shock cords and carabiners guarantees stability and ease of access.
Start by selecting durable shock cord; 3/32-inch marine-grade polyester is ideal. Cut two 11.5-inch pieces and thread them through your backpack’s daisy chains or sewn attachment points. Two pieces of shock cord (~11.5 inches each) are typically used for optimal fit.
Form loops by tying overhand knots or using cord locks for adjustability. Position the water bottle vertically, aligning its narrow waist with the upper and lower loops to prevent swaying.
Use a secondary shock cord loop around the bottle’s lower half to stop bouncing, securing it with a lark’s head knot. Adjust loop size by sliding cords through multiple daisy chain openings, ensuring a snug fit.
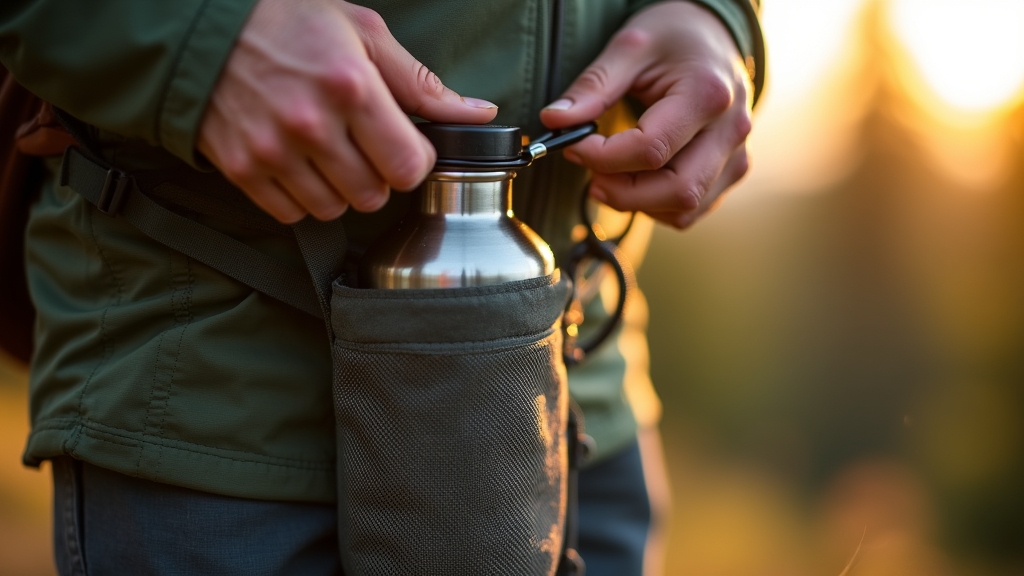
Carabiner Attachment Tips
Mastering loop formation sets the foundation for securing your water bottle, but combining shock cords with carabiners takes stability and accessibility to the next level.
Start by selecting a small, lightweight carabiner that clips securely onto the upper daisy chain sections of your backpack’s shoulder straps. Choosing durable gear with spinner wheels and compression systems enhances overall travel convenience.
Wrap a shock cord around your bottle’s circumference, tying overhand knots at the ends to prevent slipping. A short piece of shock cord, about the diameter of the bottle, tied with an overhand knot, helps prevent the bottle from flipping or flopping during movement shock cord prevents flipping.
Feed the cord back through itself for a firm hold. Attach the shock cord loop to the carabiner, ensuring the bottle hangs without interfering with arm motion.
Thread the bottle’s bottom through the lower loop and use a zip tie on the lower daisy chain to limit swinging. This setup allows quick-release access while keeping your bottle stable and within easy reach as you move.
Stability and Adjustability
When securing your water bottle with shock cords and a carabiner, stability and adjustability are key to a comfortable and reliable setup.
Use stretchy shock cords to grip the bottle tightly at natural indentations, reducing bounce and sway during movement. Adjust the tension easily with cord locks or knots to fit different bottle sizes and user preferences.
Anchoring the shock cords through backpack loops or D-rings enhances stability while keeping the bottle accessible. This method resembles the use of TSA-approved locks that secure luggage while allowing for necessary adjustments.
The carabiner anchors the entire assembly securely to your backpack strap or daisy chain. To guarantee ideal stability and adjustability:
- Use double-layer shock cords for upper and lower anchoring points.
- Place cord locks to customize tension and quick adjustments.
- Integrate shock cords with backpack attachment points to prevent slipping.
- Combining shock cords with sewn pouches can further improve bottle stability and reduce unwanted movement during activity.
Alternative Attachment Points on Backpacks
If you want to keep your water bottle within easy reach without relying on standard side pockets, backpacks offer several alternative attachment points.
You can use shoulder straps equipped with daisy chains, adjustable loops, or Velcro straps to secure your bottle, ensuring easy access and preventing bounce. The Ultra 100X fabric and mesh construction of some bottle holders make them durable and breathable for long-term use.
When traveling, it’s important to consider aerosol sunscreen regulations if you carry spray bottles alongside your water. Attaching to the hip belt lowers the bottle position and helps balance weight, though options are limited and may require DIY holders.
Some packs allow frame or back panel attachment using straps or clips, which is ideal for larger bottles but may potentially affect comfort. External loops or D-rings let you clip bottles flexibly, especially useful if your pack lacks dedicated pockets.
Tips for Securing and Accessing Your Water Bottle
Although securing your water bottle may seem straightforward, using elastic bands or shock cords can greatly improve stability and accessibility.
Make sure to tighten the elastic loop snugly around the bottle neck to prevent slippage. Position the bottle so you can easily reach the cap without removing your backpack. Carrying multiple water containers provides redundancy and safety in case one bottle is lost or damaged. Using compression buckles on straps can also help stabilize the load and reduce bottle movement.
Use dual attachment points to minimize bouncing and keep the bottle close to your body for balance. Avoid overly tight retention that makes removal difficult. To secure and access your bottle effectively:
- Use cinchable cords with lock stoppers for adjustable fit and quick release.
- Position the bottle at a comfortable height for drinking while walking.
- Regularly inspect cords for wear and replace if frayed or stretched.
Frequently Asked Questions
Can I Use a Water Bladder Instead of a Bottle on My Backpack?
Yes, you can use a water bladder instead of a bottle on your backpack. Bladders offer hands-free hydration through tubing, improving convenience on the trail. They distribute weight evenly and conform to your pack’s shape, boosting comfort.
However, they need proper maintenance to avoid leaks and mold. Also, some backpacks may make bladder removal tricky. If you want easy refilling and durability, bottles might be better. But bladders save space and enhance mobility.
How Do I Clean the Bottle Holder Attachment Regularly?
You don’t want a science experiment growing on your bottle holder, right? Clean it every 1-2 weeks using a damp cloth with mild soap. For stubborn grime, grab a soft brush or toothbrush. Rinse off soap residue and dry thoroughly; air drying works best.
Avoid harsh cleaners that can ruin materials. Check for damage and replace if needed to keep your bottle secure and fresh-smelling on every adventure.
Are There Eco-Friendly Materials for DIY Bottle Holders?
Yes, you can use eco-friendly materials for DIY bottle holders. Consider plant-based leathers like cactus, banana, or pineapple leather for durability and sustainability.
Natural fibers such as organic cotton, hemp, or bamboo offer lightweight, breathable options. Recycled fabrics from PET bottles or upcycled ocean plastics provide strong, water-resistant choices.
For added durability, explore sustainable fabric technologies like Dyneema composites or UHMWPE. These materials reduce environmental impact while keeping your bottle secure and stylish.
What’s the Best Way to Carry Multiple Bottles on One Pack?
Carrying multiple bottles on one pack? Easy—just turn your backpack into a juggling act! Seriously, use dual cinchable loops with toggle attachments across shoulder straps to hold multiple bottle sleeves securely.
Elastic bands help reduce sway, and inverted bottle positioning prevents slippage. This setup keeps your load balanced and your bottles accessible without the circus performance. It’s practical, stable, and perfect for long hikes where hydration matters most.
Can Water Bottle Holders Affect Backpack Balance or Comfort?
Yes, water bottle holders can influence your backpack’s balance and comfort. Properly placed holders on shoulder straps or sides distribute weight forward or laterally, reducing back strain and improving posture.
Using dual-side holders helps offset imbalances, while chest-mounted holders support better posture during movement. Avoid storing bottles loosely inside compartments, as they shift your center of gravity unpredictably.
Smart Ways to Attach Your Bottle Without the Bulk
Now that you’ve explored these clever ways to attach your water bottle, you’re ready to keep hydration close at hand like a trusty sidekick. Whether you choose DIY elastic bands, zip ties with koozies, or a sleek commercial holder, your bottle will stay secure through every adventure.
Just remember, a well-attached bottle is like a loyal companion, always there when you need it, without weighing you down or slowing your stride. Stay refreshed and hands-free!