What Size Dry Bag Do I Need: Explore Size to Find Ideal Fit
You’ll want a dry bag sized to fit your gear volume and trip length without overstuffing. For short day trips, 10-20 liters usually handles essentials like clothes and snacks. Multi-day excursions need 30-50 liters or more to fit bulky gear like sleeping bags. Smaller bags (2-5 liters) are perfect for valuables and organizing.
Choose based on your activity, packing style, and comfort, ensuring your gear stays dry and accessible. Exploring size options further can help refine your choice perfectly.
Key Takeaways
- Choose dry bag size based on trip duration: 5-10L for day hikes, 20-30L for multi-day trips, and 50+L for extended or bulky gear needs.
- Assess your gear volume, including clothing, electronics, and essentials, adding a 10-20% buffer for easier packing and sealing.
- Use multiple smaller dry bags to organize gear by category, improving accessibility and protecting items better during transport.
- Consider activity type: water activities require 15-30L sizes for clothes and food, while camping trips need 30-50L for sleeping bags and cooking gear.
- Match dry bag material and design to durability needs, balancing waterproof integrity with packing flexibility and carrying comfort.
Understanding Dry Bag Size Ranges
When choosing a dry bag, understanding the size ranges helps you pick one that fits your needs without adding unnecessary bulk.
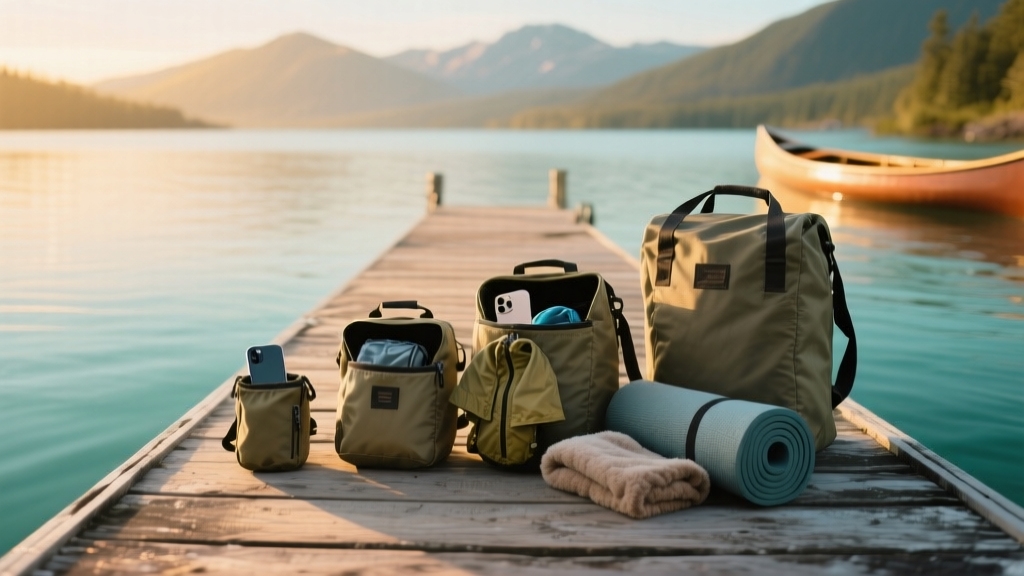
Small dry bags, from 2 to 5 liters, hold essentials like phones or keys and strap easily to backpacks. For example, the Small Dry Bag weighs only 0.42 oz (12 g) and is perfect for small clothing items or miscellaneous gear.
Small dry bags (2-5 liters) are perfect for essentials like phones and keys, easily attaching to backpacks.
Medium bags, between 5 and 15 liters, balance capacity and portability, suitable for clothing or compact gear. Choosing the right size also affects maneuverability and ease when packing and transporting your gear.
Large bags range from 20 to 30 liters, ideal for day trips with room for clothes and snacks. Extra-large bags exceed 50 liters, designed for extended trips or bulky items but can be heavy and cumbersome.
Selecting the right size ensures effective sealing and organized packing. Keep in mind, the bag should be nearly full but not overstuffed to maintain a watertight seal.
Matching Dry Bag Size to Your Gear Amount
When you’re getting ready for an adventure, the first thing you should do is take a good look at the amount of gear you’ll be bringing along. Think about the essentials—like your clothes, electronics, and any supplies you can’t live without.
Keep in mind that the overall size of your dry bag, including any protruding parts or attachments, can affect how easily it fits in your pack or storage space. Also, don’t forget to consider how long your trip will be. If it’s just a quick outing, a smaller dry bag might do the trick.
But if you’re heading out for a multi-day journey, you’ll want something with a larger capacity to accommodate everything you need. For example, a 10-liter dry bag is a versatile choice that fits towels, phones, snacks, and clothing for many day trips or light backpacking adventures.
Gear Volume Assessment
Although choosing the right dry bag size might seem straightforward, accurately evaluating your gear volume guarantees you pick a bag that fits your needs without excess bulk or wasted space.
Start by measuring each item’s volume. Use manufacturer specs or water displacement for precision. Combine similar items to estimate total space needed and add a 10–20% buffer for easier packing.
Remember that using multiple smaller bags instead of one large bag can improve organization and accessibility. Proper gear maintenance also helps ensure your equipment stays in good condition and fits well.
Consider compression sacks to reduce bulky gear volume effectively.
- Measure individual gear volumes accurately.
- Consolidate volumes for similar items.
- Add buffer space for ease of use.
- Use compression sacks for bulky items.
Regularly update your gear volume as your equipment changes to avoid over- or under-sizing your dry bag.
Trip Duration Considerations
Since your trip duration directly influences the amount of gear you carry, selecting the right dry bag size becomes essential to balance capacity and portability.
For short trips of 1-3 days, a 10L dry bag fits essentials like clothes and personal items without adding bulk, reducing the need for destructive entry methods if your gear is securely stored.
If you’re heading out for longer backpacking or hiking trips, 20-30L bags provide enough space for clothes and equipment, while remaining lightweight and packable.
For multi-day paddling or kayaking excursions, consider larger bags of 60L or more to accommodate bulky gear, or use multiple smaller bags to organize items efficiently. The 60L dry bag features a reinforced base for stability and includes two padded straps, enhancing durability and carrying comfort on extended trips.
Keep in mind that overfilling compromises waterproof integrity, so choose sizes that match your gear needs and optimize packing for easy access and protection throughout your adventure.
Selecting Dry Bags for Different Outdoor Activities
When it comes to selecting the perfect dry bag, size really does matter, and it all depends on the activity you’re planning and the gear you want to keep safe.
Think about how much stuff you need to bring along. You want to make sure you have enough space for your essentials, but you also don’t want to haul around something too bulky, right?
For example, 5-10L for day trips and larger sizes for extended adventures help tailor your choice to your needs. Just like how knowing the right way to reset a combination lock can help you keep your gear secure.
So, it’s all about finding that sweet spot. You want a dry bag that matches both your gear and the activity you’re doing. This way, you can keep your items safe and sound without feeling weighed down. It’s all about enjoying your adventure without worrying about your stuff getting wet!
Activity-Based Size Guide
A dry bag’s size plays a crucial role in matching your outdoor activity and gear needs. Choosing correctly ensures your essentials stay dry without extra bulk. Here’s a quick guide:
- Day Hikes: Opt for 5-10 liters to carry snacks, rain jackets, and small essentials without weighing you down. Using a properly sized dry bag enhances gear organization and minimizes pack bulk during short trips. Regular maintenance and proper handling can also prolong the life of your dry bag’s materials and closures.
- Water Activities: Select 15-30 liters for kayaking or canoeing to protect clothes and food during wet conditions. Protecting your dry bag with durable covers or reinforcements can help prevent damage from rough water or abrasive surfaces.
- Camping: For weekend trips, 30-50 liters fit sleeping bags, cooking gear, and clothes comfortably.
- Extended Trips: Go for 50+ liters if you need space for multiple days of gear, though expect heavier loads.
Matching bag size to activity keeps your gear organized, protected, and manageable.
Gear Volume Considerations
When you plan your outdoor adventure, accurately estimating your gear’s total volume helps you pick the right dry bag size. Start by packing your gear using containers or packing cubes to measure space precisely.
Add 5-10 liters to your estimate to accommodate the roll-top closure and ease of packing. Remember, bulky, rigid items need more space than compressible clothes. Include extras like cooking gear, electronics, and emergency supplies to avoid undersizing.
Match your dry bag size to your activity: 1-5 liters for essentials, 10-20 liters for day trips, and 30+ liters for multi-day excursions. Locking your gear properly can add an extra layer of security during transport.
Also, consider material stiffness and design, which might affect packing volume. Dry bags are made mainly from vinyl (PVC) or polyurethane-coated fabrics, which can influence their flexibility and packing efficiency. Testing your packed gear before buying guarantees your dry bag fits your needs perfectly.
Portability and Comfort
How do you guarantee your dry bag stays comfortable and portable throughout your outdoor activity? Choosing the right size and style based on your trip length and movement needs is key.
Consider these points:
- Pick small (5–10L) bags for short trips to keep weight low and essentials handy.
- Use midsize (15–30L) bags for weekend outings, balancing capacity and carry comfort.
- Opt for cylindrical shapes with adjustable, padded straps to evenly distribute weight. Many designs also incorporate ergonomic support features to reduce shoulder fatigue during extended use.
- Divide gear into multiple small bags, color-coded if possible, for easier access and better weight balance.
This approach reduces shoulder fatigue, improves mobility, and streamlines packing. Additionally, selecting bags made of durable materials ensures longevity and reliable waterproof protection. Tailor your dry bag choice to your activity, like ultralight bags for hiking or secure, sling-style bags for paddling, to maximize comfort and portability.
Material Considerations and Durability Factors
Since your dry bag needs to withstand harsh conditions, choosing the right material directly affects its durability and waterproof performance.
PVC tarpaulin is budget-friendly and highly waterproof but heavier and less flexible. However, it may be prone to damage if excessive force or blunt impact is applied, similar to how a lock can be damaged by improper handling.
PVC tarpaulin offers strong waterproofing and affordability but tends to be heavier and less flexible.
PU-coated nylon offers better abrasion resistance and longer-lasting waterproofing with lighter weight. Dyneema composite fabric excels with an exceptional strength-to-weight ratio, UV resistance, and eco-friendliness.
Nylon ripstop provides tear resistance but usually requires coatings for full waterproofing. It is often treated with DWR to enhance water resistance. TPU lamination combines durability, flexibility, and cold-weather resilience.
Look for welded seams to enhance waterproof integrity and durability. Proper seam construction is key to preventing leaks and ensuring long-term performance. Consider your priorities: if you want lightweight strength, Dyneema or TPU-laminated bags are ideal.
For budget options, PVC works but sacrifices flexibility and UV resistance. Prioritize materials with good abrasion resistance and UV stability to guarantee long-term performance and protection of your gear.
Portability and Carrying Options for Various Sizes
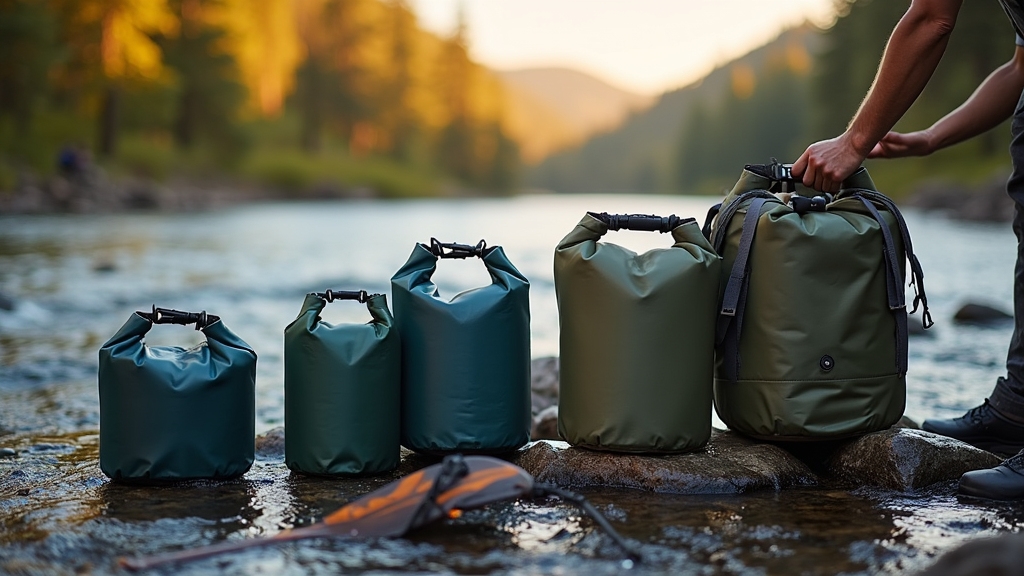
Choosing the right material for your dry bag sets the foundation for durability, but size plays a key role in how easily you can carry it during your adventures. Small dry bags (2-5 liters) are highly portable and clip easily to backpacks or belts for quick access.
Medium sizes (10-30 liters) balance capacity and portability, often featuring shoulder straps. Ortlieb medium backpacks, for example, have a volume of around 5187 CU IN, helping to illustrate medium bag capacity. Many travelers also consider luggage with spinner wheels to enhance portability when carrying medium-sized bags longer distances.
Large (30-50 liters) and extra-large bags (50+ liters) require dedicated carrying methods, like handles or lash points, due to their bulk and weight. Here’s how carrying options vary by size:
- Small bags clip externally or fit inside larger packs.
- Medium bags often include shoulder straps or harnesses.
- Large bags have handles or removable backpack harnesses.
- Extra-large bags are mainly vehicle-transported, not carried.
Choose size wisely to optimize comfort and mobility.
Organizing Gear With Multiple Dry Bags
Using multiple dry bags is a smart way to separate your gear by function. It really makes finding what you need a lot quicker.
Plus, when you choose different sizes, you can match each bag to the specific items you have. Whether it’s small toiletries or bulky clothing, it all fits perfectly. Remember to pack items starting from least used at the bottom to most used at the top to maximize accessibility proper packing.
This system not only keeps your gear organized, but it also protects it better. You know how it can be when you’re packing and unpacking? Everything can get a bit chaotic. But with these dry bags, it speeds up that whole process. You’ll be surprised at how much smoother your trips become!
Benefits of Multiple Bags
When you organize your gear with multiple dry bags, you gain better control over accessibility and protection. Using several bags lets you separate items by type, making it easier to find what you need quickly and keep clean gear away from wet or dirty items.
This approach also benefits from the Odor Protection feature of dry bags, as it helps contain smells within specific bags, preventing odors from spreading to other gear. This setup also enhances safety by localizing potential water intrusion and reducing cross-contamination risks.
Plus, it improves packing flexibility, allowing you to unpack only the gear needed for specific activities. Here are four key benefits of multiple dry bags:
- Prevent total gear loss by isolating potential breaches.
- Simplify quick identification with color-coding or different sizes.
- Optimize space and weight distribution for comfort.
- Enable layered protection for sensitive items, reducing moisture exposure.
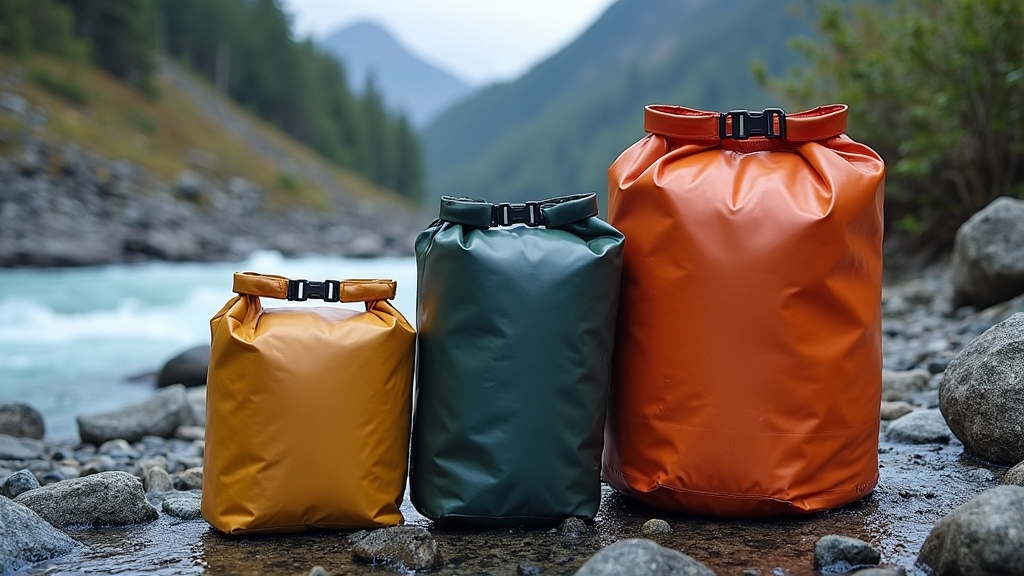
Size Variety Advantages
Although it might seem simpler to pack all your gear into one large dry bag, selecting a variety of sizes lets you organize items more efficiently and access them faster. Smaller bags keep valuables separate, medium bags group clothes or food, and larger bags hold bulky gear.
This approach prevents shifting and improves weight distribution. Many top dry bags, like the NRS Bills Bag, offer sizes ranging up to 110L, allowing for large capacity options that accommodate diverse gear needs.
| Bag Size | Ideal Gear | Advantage |
|---|---|---|
| Small (2-5 L) | Wallets, phones, keys | Quick access, less handling |
| Medium (10-20 L) | Clothes, food | Group similar items, easy carrying |
| Large (30-50 L) | Sleeping bags, camping gear | Holds bulky, multi-day supplies |
| Extra-large (50+ L) | Heavy or multiple days’ gear | Large capacity, less portable |
Using multiple dry bags optimizes packing and keeps gear protected and easy to find.
Efficient Gear Categorization
Organizing your gear by category makes packing and accessing items much more straightforward. Using multiple dry bags, you can separate clothing, electronics, toiletries, and cooking gear to prevent cross-contamination and simplify retrieval.
To optimize space and ease, consider these tips:
- Match bag sizes to gear volume, avoiding wasted space or overstuffing.
- Label or color-code bags for quick visual identification.
- Nest smaller dry bags inside larger ones to consolidate packing while maintaining organization.
- Use transparent or semi-transparent bags for easy content inspection without unpacking. Many Sea to Summit Ultra-Sil Dry Bags are made from transparent Cordura nylon, allowing quick gear checks.
- Choose bags with suitable closures and features, such as roll-down buckles or compression straps, to secure contents and maximize pack space.
Benefits of Using Smaller Versus Larger Dry Bags
Choosing between smaller and larger dry bags depends largely on your specific needs for portability, capacity, and durability.
Smaller dry bags (1-5 liters) offer lightweight, compact storage ideal for organizing small valuables and reducing pack bulk. For example, nylon dry bags are often more flexible and come with shoulder straps, making them especially suitable for day hikes and lightweight travel.
Larger bags (10-35+ liters) provide ample capacity for bulky gear, often built with tougher materials for rugged use, but add weight.
| Feature | Smaller Dry Bags | Larger Dry Bags |
|---|---|---|
| Portability | Lightweight, packable | Heavier, less compressible |
| Capacity | Small items, easy access | Bulk gear, fewer bags |
| Durability | Thin, lightweight fabric | Thick, abrasion-resistant |
Choose based on your activity’s gear size and handling demands to optimize convenience and protection.
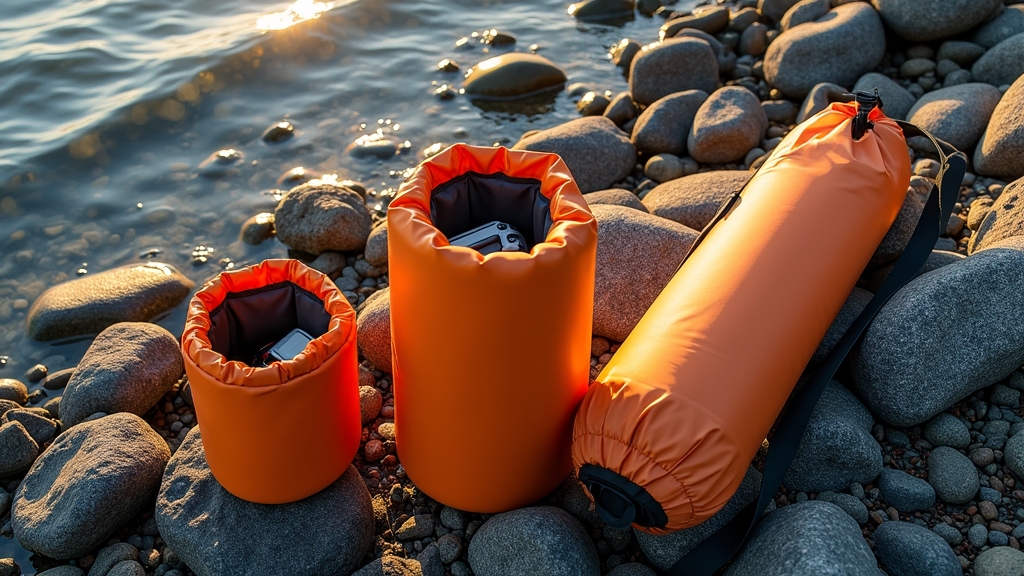
Dry Bags for Water-Based Activities
How do you pick the right dry bag for your water-based activities? It depends on your activity type, gear volume, and how long you’ll be out. Here’s a quick guide to help you decide:
- For short trips like beach days or SUP, a 10L bag fits essentials without bulk.
- Day-long paddling or boating calls for a 30L bag to hold extra clothes and snacks. It’s important to select bags with roll-top closures for maximum water resistance.
- If you’re carrying bulky gear like wetsuits, a 60L bag is best for multi-hour outings.
- Use small 2-5L bags to organize compact items like phones and wallets; avoid overstuffing.
Choose based on duration, gear size, and how you carry it to guarantee your dry bag stays practical and waterproof.
How to Choose Dry Bags for Multi-Day Trips?
When you plan a multi-day trip, selecting dry bags that match your gear volume and trip length is essential to keep your belongings safe and manageable.
Opt for multiple bags sized between 10 to 70 liters to organize clothes, food, and sleeping gear effectively. Avoid oversizing to prevent clumsiness and manage weight balance. It is important to pack items based on frequency of use, placing essentials at the top and valuables securely and dry for easy access during the day.
Durable fabric and reliable seals ensure waterproof protection over several days.
| Dry Bag Size | Typical Use | Volume (Liters) |
|---|---|---|
| Small | Clothing, accessories | 10-20 |
| Medium | Sleeping bags, food | 30-50 |
| Large | Bulk gear or combined items | 50-70 |
| Organizer | Minor gear, inside pack | 2-10 |
Use labeled, categorized bags for quick access and balanced packing.
Practical Tips for Efficient Dry Bag Packing
Although packing a dry bag might seem straightforward, applying efficient techniques can greatly improve space utilization and protect your gear. To pack smartly, start by organizing items based on frequency of use. Pack the least used first.
Next, roll your clothing tightly to save space and reduce wrinkles. Use small packing cubes or bags to keep gear organized and compressible. It is also helpful to use waterproof containers inside the dry bag to keep items extra dry.
Finally, secure sharp objects in protective cases to avoid puncturing the bag. Here are four practical tips for efficient dry bag packing:
- Layer items from least to most used for easy access.
- Roll clothes and use packing cubes to maximize space.
- Place heavy items at the bottom for balance.
- Seal the bag properly, removing excess air to maintain waterproof integrity.
Frequently Asked Questions
Can Dry Bags Be Used for Storing Food Safely?
Yes, you can safely use dry bags for storing food if you choose food-grade certified ones. Make sure the bags are clean, residue-free, and only store non-perishable, low-moisture foods like nuts or dried fruits.
Use airtight containers or ziplock bags inside the dry bag to prevent contamination and moisture. Keep the bags in cool, dry places, seal them properly, and avoid cross-using bags for gear or chemicals to maintain food safety.
How Do I Clean and Maintain My Dry Bag?
You should rinse your dry bag with fresh water after every use, especially if it’s been in saltwater or mud. Salt buildup can degrade materials over time.
Use mild soap with warm water and gently scrub with a soft cloth to protect the waterproof coating. Air dry it inside out, avoiding direct sunlight. Regularly inspect seams and closures for wear, and store the bag dry in a cool place to prevent mold and extend its lifespan.
Are Dry Bags Environmentally Friendly or Recyclable?
Dry bags aren’t generally environmentally friendly, since most use PVC, TPU, or nylon, plastics that don’t biodegrade and are hard to recycle. You’ll find that traditional dry bags often end up in landfills or incinerators, causing pollution.
However, you can choose biodegradable options made from renewable materials like PLA or PHA, though they’re pricier and less durable. Proper disposal and recycling options remain limited, so your choice impacts environmental outcomes.
Can I Use a Dry Bag as a Flotation Device?
You might be tempted to rely on a dry bag as a flotation device, but it’s best to think of it as an occasional water buddy rather than a life saver.
While dry bags can float if sealed with air inside, they’re not certified or designed for safety in emergencies. For your protection, always use certified flotation gear like PFDs or tow floats. Reserve dry bags for keeping your gear dry, not keeping you afloat.
What Is the Best Way to Repair a Punctured Dry Bag?
To repair a punctured dry bag, first clean and dry the damaged area thoroughly. Trim any loose edges and lightly sand the surface. Use a patch material matching your bag’s fabric: vinyl for vinyl bags and waterproof fabric for nylon.
Apply adhesive evenly on both patch and bag, then press firmly to remove air bubbles. Clamp the patch in place and let it cure for 12-24 hours. Finally, test for leaks and reinforce if needed.
Match Your Dry Bag to Your Activity and Packing Style
Choosing the right dry bag size is like finding the perfect puzzle piece. It guarantees your gear fits snugly without wasted space. Whether you’re paddling through rapids or trekking multi-day trails, matching size to activity keeps your essentials safe and your load light.
Remember, smaller bags offer nimble convenience, while larger ones carry more bulk. Pack smart, and your dry bag will be the sturdy shield that keeps your adventure dry and hassle-free.