
Cinch Top Backpack Pattern With Drawstring

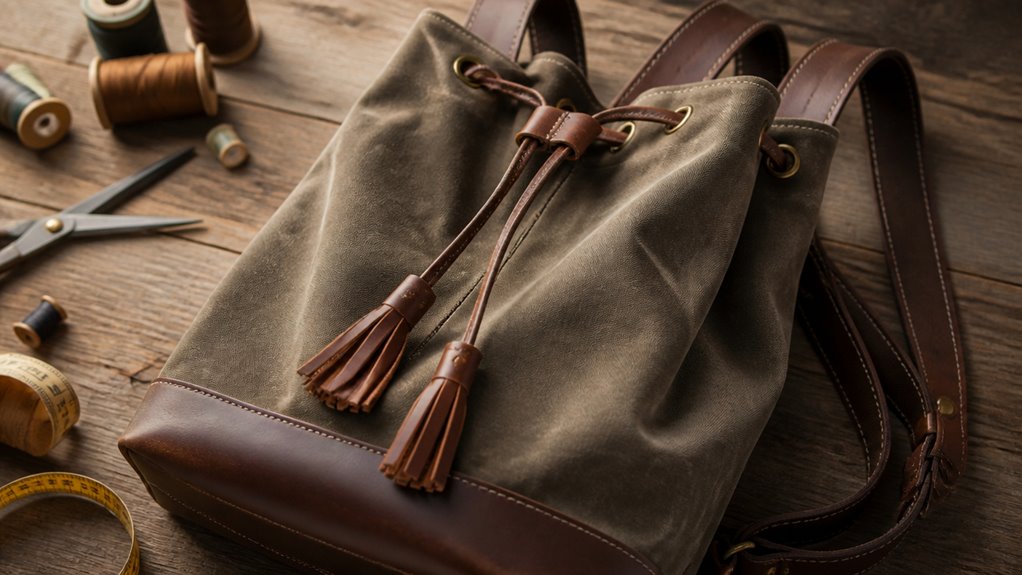
You’ll want quality cotton or waxed canvas for a durable, weatherproof cinch top backpack that blends rugged utility with polished style.
Cut your exterior and lining precisely, pin right sides together, and sew with reinforced seams for strength.
Create a neat drawstring casing using double stitching and thread durable cords through with a safety pin or bodkin.
Add sturdy straps with reinforced stitches or knots, and finish with pockets, grommets, or bead accents for flair.
Keep exploring to perfect every stitch and detail.
Key Takeaways
- Use quality cotton or waxed canvas fabric for durable exterior and lining of the cinch top backpack.
- Cut two exterior and two lining body pieces, typically 17×15 inches, plus an optional pocket for added storage.
- Sew exterior and lining right sides together with a ½-inch seam allowance, leaving the top open for turning.
- Create a drawstring casing by folding and stitching the top edge, then thread drawstrings through with a safety pin or bodkin.
- Reinforce strap attachments with box stitches or X patterns and secure drawstring ends with knots or grommets for durability.
Gathering Materials and Tools for Sewing Your Cinch Top Backpack
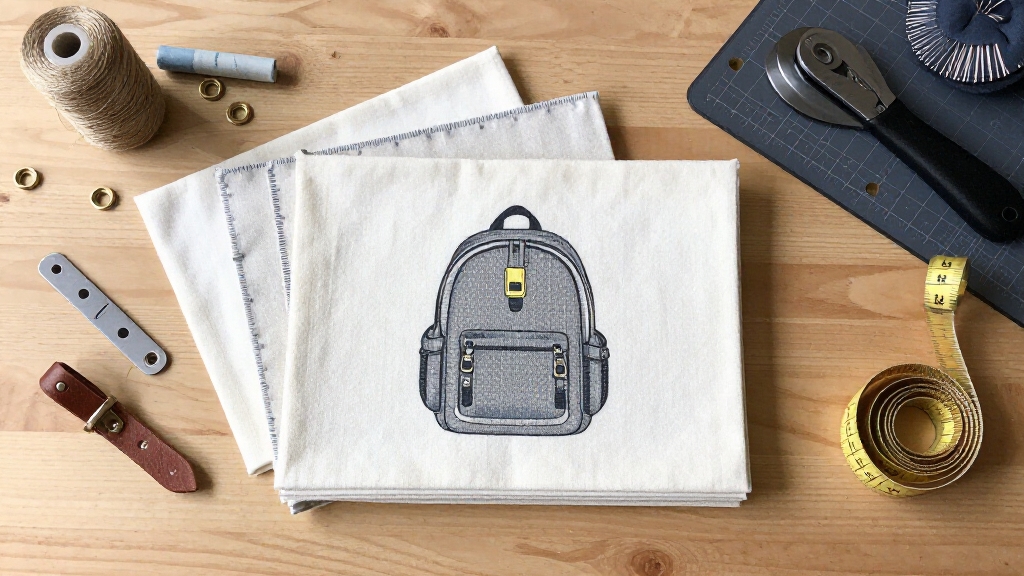
Gathering the right materials and tools sets the foundation for your cinch top backpack project, ensuring a smooth and enjoyable sewing experience.
Start with quality cotton woven fabric for both the exterior and lining. Think vibrant prints or subtle textures to match your style.
Choose quality cotton woven fabric for both exterior and lining, with prints or textures to suit your personal style.
Grab durable cord or ribbon for the drawstring straps. These double as closures and shoulder straps, so pick something sturdy yet comfortable.
Don’t forget essentials like sharp fabric scissors, sewing needles, coordinating thread, and pins or clips to hold pieces firmly.
A safety pin will be your trusty sidekick for threading the drawstring through the casing.
Optional extras like interfacing or grommets can elevate durability and style, especially if you want a polished finish.
Choosing materials like cotton provides a strong, tightly woven fabric that supports durability and longevity.
With these in hand, you’re ready to sew a chic, functional backpack.
Cutting Pattern Pieces for Your Cinch Top Backpack
Now that you’ve assembled your fabrics and tools, it’s time to bring your cinch top backpack to life by cutting the pattern pieces with care.
Lay your fabric flat, aligning grainlines, and use sharp scissors or a rotary cutter for clean edges. Precision here sets your bag’s silhouette.
Typically, you’ll cut two main rectangles for the exterior and lining, plus smaller pieces for pockets or casing.
| Pattern Piece | Quantity | Dimensions (inches) |
|---|---|---|
| Exterior Body | 2 | 17 x 15 |
| Lining Body | 2 | 17 x 15 |
| Pocket (optional) | 1 | 6 x 8 |
Don’t forget to add seam allowances and mark casing folds. Cutting smartly saves time and guarantees a flawless sew!
For best results, measure with the fabric laid flat and maintain consistent measurement techniques to ensure accuracy across all pattern pieces.
Sewing the Backpack Body
Once your pieces are precisely cut, start sewing the exterior and lining bodies together by aligning them right sides facing each other.
Pin the sides and bottom edges to keep everything neat, then stitch with a consistent ½-inch seam allowance.
Leave the top edge open; it’s essential for turning your backpack right-side out later.
Press the seams open for a crisp, professional finish.
Next, clip the corners carefully to reduce bulk, ensuring your backpack’s shape stays sharp.
Turn the body inside out through the top opening, smoothing the edges with your fingers or a blunt tool.
This step sets the stage for creating a polished, structured silhouette that’s both functional and fashion-forward, perfect for your new cinch top backpack’s sleek, minimalist vibe.
After sewing, it’s important to avoid harsh scrubbing when cleaning your backpack to maintain the fabric’s integrity and appearance.
Making and Attaching Drawstring Casing and Straps
Alright, let’s dive into making that drawstring casing and straps!
First up, you’ll want to fold and stitch the top edge. This step is crucial because it creates a neat little channel for your drawstrings.
Once that’s done, it’s time to get your cords threaded through the casing. To make this part easier, grab a safety pin—it’s a handy tool that can help guide your cords through without any hassle.
Finally, don’t forget to secure the strap ends at the base. This will make sure your backpack stays sturdy and stylish while you’re on the go. Happy crafting!
For added convenience during travel, consider using lightweight, durable materials like ballistic nylon to maximize your bag’s functionality and longevity.
Folding And Stitching Casing
Start by folding the top edge of your backpack body down to create a neat casing wide enough to accommodate your drawstring.
Press the fold firmly with an iron for crispness. This sets you up for clean, professional results.
Pin the casing in place, ensuring it’s even all around. Next, stitch close to the lower fold, leaving the top edge open so the drawstring can glide smoothly inside.
Use a straight stitch and backstitch at both ends to reinforce the seam, giving your backpack durability and style.
Pay attention to tension for a sleek finish that’s both functional and trendy.
This simple fold-and-stitch technique transforms your bag’s opening into a polished channel, ready to hold and showcase your drawstrings like a fashion statement.
Before applying any patches near the casing, ensure to avoid seams and zippers to maintain both appearance and durability.
Threading Drawstrings Effectively
Slip your drawstrings smoothly through the casing using a safety pin or bodkin to guide the cords without snagging.
Pin one end of your cord securely, then feed it through the channel, gently bunching fabric as you push it along.
Keep the cord taut to avoid twists or tangles inside the casing.
Once threaded, make certain both ends emerge evenly at the backpack’s lower corners. This balance prevents awkward pulls when cinched.
For a polished look, double-check that the drawstring moves freely and adjust the casing’s stitching if needed.
Remember, this step transforms your bag from flat fabric into a functional, chic cinch-top.
Mastering smooth drawstring threading sets you up for effortless carrying and stylish wear every time.
To enhance durability and style, consider choosing fabric colors and hardware that complement your drawstring design.
Securing Straps And Ends
Securing the straps and ends transforms your cinch top backpack from a simple pouch into a sturdy, wearable bag.
Start by folding the top edge to create a neat casing for the drawstring. This keeps your straps smooth and functional.
Thread your cords through using a safety pin. Then knot or stitch the ends at the bottom corners to lock everything in place.
Reinforce with topstitching for durability and style.
Using side-release buckles can further enhance the security and adjustability of your backpack straps.
| Step | Technique | Tip |
|---|---|---|
| Fold & Stitch | Create casing | Use a ½” fold for clean edges |
| Thread Drawstring | Safety pin guide | Keep cords untwisted |
| Secure Ends | Knot or stitch ends | Double stitch for strength |
This attention to detail makes your backpack both fashionable and functional.
Adding Pockets and Custom Features to Your Cinch Top Backpack
Elevate your cinch top backpack by incorporating pockets and custom features that blend style with function.
Start by adding an exterior zipper pocket for quick access to essentials like keys or your phone. Inside, sew a slip pocket to organize smaller items, keeping your bag clutter-free.
Experiment with contrasting fabrics or color blocking for a trendy twist that stands out. Don’t forget to reinforce pocket edges with topstitching or interfacing to handle daily wear.
You can also personalize your backpack with appliqués, patches, or embroidery, reflecting your unique style. For extra security, consider installing a hidden zipper pocket inside the lining.
These additions make your cinch backpack not just practical but a fashionable, customized statement piece perfect for everyday adventures. Consider using durable, water-resistant materials to ensure your backpack withstands daily use and weather conditions.
Finishing Touches and Reinforcements for Your Cinch Top Backpack
To make your cinch top backpack truly durable, you’ll want to pay special attention to those strap attachments where the tension hits hardest. It’s a good idea to secure those drawstring ends with sturdy knots or even stylish grommets. Not only will this prevent slipping, but it also adds a nice polished touch.
These finishing details? They’re not just about looks! They really boost the longevity of your bag while enhancing its sleek, functional vibe. So, take your time with these little touches—they make a big difference! Using high-quality leather for these reinforcements can significantly improve the bag’s durability and wear resistance.
Reinforcing Strap Attachments
Strengthen your cinch top backpack by reinforcing the strap attachments. This ensures they can handle everyday wear and carry your essentials without strain.
Start by doubling your stitching at the points where straps meet the bag. Use box stitches or X patterns for extra grip.
Using heavy-duty thread or adding a small patch of interfacing behind these junctions boosts durability. If you’re feeling stylishly bold, incorporate contrasting thread colors to highlight your craftsmanship.
Don’t forget to secure the drawstring ends with reinforced knots or grommets to prevent fraying under tension.
These subtle reinforcements extend your backpack’s lifespan and elevate its overall aesthetic. Your backpack will be ready to endure daily adventures, looking sharp every step of the way.
For enhanced longevity, consider materials like waxed canvas which offer impressive tear resistance and weatherproofing ideal for rugged use.
Securing Drawstring Ends
Secure the drawstring ends with care to keep your cinch top backpack both functional and stylish.
Start by knotting the cords firmly to prevent slipping. Consider adding reinforcements like stitching or decorative beads for extra flair and durability.
Using grommets protects fabric edges and creates a polished finish. Don’t forget to trim excess cord neatly to maintain a sleek look.
| Method | Purpose | Style Tip |
|---|---|---|
| Knotting | Prevent cord slippage | Double or triple knots |
| Stitching | Reinforce ends | Use matching or contrast thread |
| Grommets | Protect edges, add shine | Choose metallic or colored |
| Decorative Beads | Add personality | Coordinate with fabric colors |
These simple touches make your backpack last longer and look effortlessly chic.
Frequently Asked Questions
How Do I Adjust the Pattern for Different Backpack Sizes?
To adjust your backpack size, simply scale the main rectangles larger or smaller while keeping proportions balanced.
Think about how much stuff you want to carry. Bump up width and height for roomy, or shrink for sleek essentials.
Don’t forget to tweak the casing length so the drawstring fits perfectly.
Consider reinforcing seams on bigger sizes.
Play with pockets or layering for style and function, making your backpack truly your own.
What Types of Fabric Work Best for Durability and Comfort?
You’ll want to choose cotton canvas or denim for durability. They’re tough yet comfy against your back.
For a softer feel, try cotton twill or a high-quality woven cotton blend. These balance strength with breathability.
Adding interfacing boosts structure without bulk. Stay trendy by mixing textures or adding color-blocked panels.
Avoid slippery synthetics; they wear fast and feel less cozy. Your backpack will last longer and look fresh with these smart fabric picks.
Can the Drawstring Straps Be Replaced With Adjustable Buckles?
You might think adjustable buckles wouldn’t work, but they actually can replace drawstring straps if you’re ready to tweak the design.
By adding buckle hardware and sewing reinforced strap channels, you gain control over fit and style. This boosts comfort and modern appeal.
This upgrade turns a simple drawstring bag into a sleek, customizable backpack. It’s perfect for trendsetters who crave both function and flair in their everyday carry.
How Do I Care for and Clean My Finished Cinch Backpack?
You’ll want to spot clean your cinch backpack with a mild detergent and a soft cloth to keep colors vibrant.
For deeper cleaning, hand wash it gently in cold water and air dry to avoid shrinking or warping.
Avoid harsh chemicals or bleach, which can damage fabric and cords.
If your bag has hardware like grommets, wipe them carefully.
Regular care keeps your backpack fresh, trendy, and ready for your next adventure!
Are There Tips for Preventing the Drawstring From Twisting Inside the Casing?
To stop your drawstring from twisting inside the casing, try threading it smoothly with a safety pin or bodkin. Keep tension consistent as you pull.
Use a slightly slick cord material like nylon or satin ribbon to reduce friction. You can also add small fabric tabs inside the casing to guide the string.
Sew a channel divider for separation. These trendy hacks keep your drawstring sleek and tangle-free, so your backpack stays effortlessly stylish!
Final Thoughts on Cinch Top Backpack Pattern
Who knew crafting a cinch top backpack could feel like a mini adventure in itself?
With every stitch and drawstring, you’re not just making a bag; you’re creating a statement piece that’s as clever as it is chic.
So, next time someone asks if you bought it, just smile and say, “Oh, this old thing? It’s handmade.”
Because nothing says trendy like a backpack that’s uniquely you, with a side of humble brag.